Occasionally we fabricate something for one of our Rat Rods or Hot Rod frames, but have no intentions of actually making and selling them. If that is the case I am going to write up a tech article and keep it on the site for all of you. If you like the articles make sure to tell a friend.
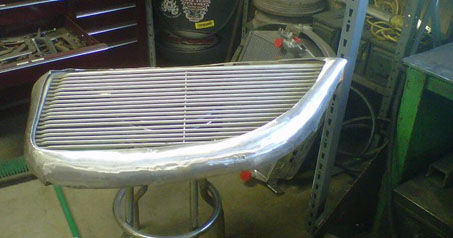
This particular part was made from a very low budget. I wanted to use the bare minimal of tools to help anyone out that is looking for a way to start creating panels or parts without the initial cost of expensive tools. There are more expensive tools you could use, but this is a way in the door to see if you want to spend the extra money on them. In this tech article I am creating a grill shell for an aftermarket 33-34 Ford Grill that I had laying around the shop.
Stay cool!
-Ronnie
Parts List
* Shotbag (preferred), In this case I used a cap from a welding gas cylinder locked into my vice to keep it a low budget. Please use and extra cap that is not on a cylinder. ;)
* Rubber mallet
* Handmade tucking fork created from scrap steel.
* Aluminum sheet metal in your desired thickness and pop rivets.
* Torches or a way to heat and anneal the aluminum so it does not split.
Normally when you are creating a panel you will be using tools such as a beater bag and quite a few different hammers. A lot of the time you will also be creating a "buck" so you have a form to follow while building your panel. In this case I am using the grill as my guide and not using a buck. When building a panel with this many comlex curves it will ne necessary to create it in pieces. You will basically just cut a piece that you think you will need in cardboard and verify it fits like you want it to and then cut it out in your metal.
Once you have your metal cut you can start shaping it. I shaped this piece over a spare gas cylinder cap creating the curves that were needed.
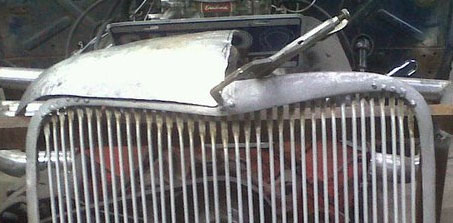
Here you see the second piece fitted in. I made this piece a little larger to insure I had the right amout of material. After I have all of the pieces for the grill shell I will trim the pieces a little better to insure a nice fit before welding.
Be sure to heat each part to anneal it and make it more malleable before beating on it. It is also a good idea to cut your pieces a little larger than the template just so you have a little room for errors until you get better at judging how the piece is going to bend.
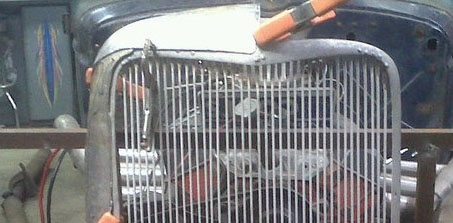
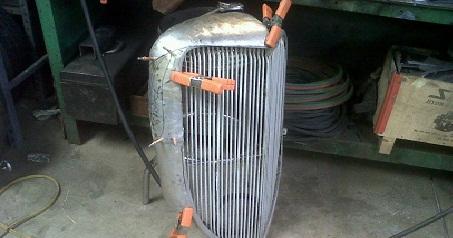
Here is another shot of the two pieces. At this point they are just clamped together and fit quite will for only having a few low pressure clamps holding it all.
As you can see a marker comes in pretty handy while forming your part. As you are holding a piece up to the other finished parts you can scribble where you would like it to stretch and the areas you want to shrink.
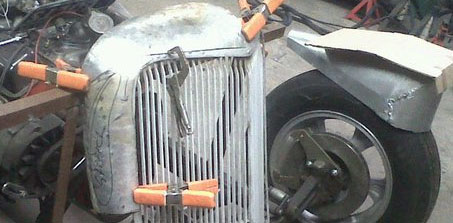
Here I have started to get too many pieces to hold them all together with clamps. I have used cleco's to hold everything together. Rivets can be used just as easily.
For the next sections I formed I ended up making a hammer from an old baseball bat. One end is tapered to get into tight spaces and the other end is the round end. As you are working on this project you will notice all kinds of stuff around your shop that can be used to shape your parts.
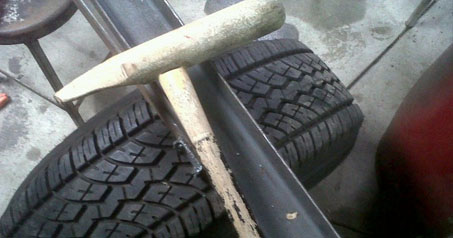
Here is a piece of metal I cut out for the bottom of the grill. I needed to get a tight rauius on the bend so I am now using my homemade hammer and a piece of c channel. The corner of the c channel is great for forming a tight radius.
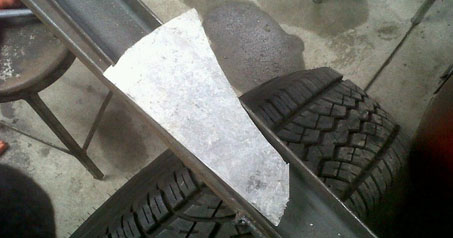
Here is the same piece of metal after being only being worked with the homemade hammer and c channel.
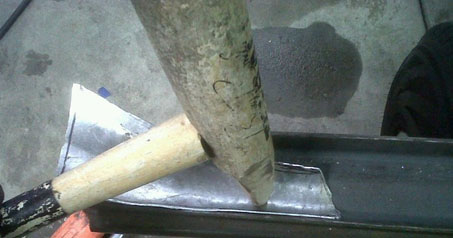
Here is the piece being test fitted onto the grill shell. It appears to fit quite well.
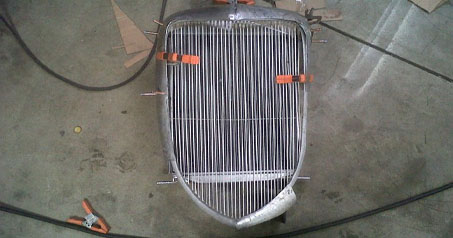
Another piece has been made for the other side. After being fitted they were welded together and filed down smooth. A file works a lot better than a grinder when you are taking material off.
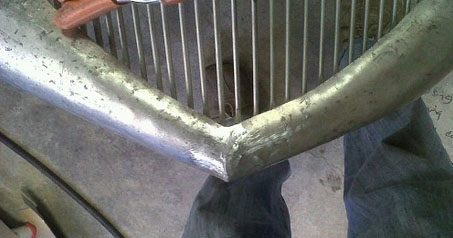
This whole project started cheap because I was not sure whether making body panels was something that I wanted to get into, but it has been rewarding and quite a bit fun. I bought a set of cheap hammers and they have helped a lot on fitment. I figured a cheap set of hammers would do since this isn't something that you need a lot of force to move..
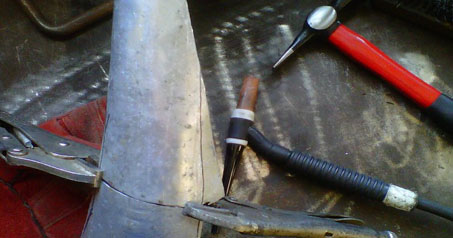
The grill is almost complete. I need to either build, buy or go to a buddies shop to wheel this thing out. There are about a thousand little dents in the grill that do not come out in the pictures. All in all it looks pretty good though. The cheapo body hammers have helped out a lot.
